Free Felony When You Upgrade To Maelstrom

Let me start by saying that I love Northern Brewer, shop there, and in no way mean this as an attack on them. The whole point of this post is to educate Texas homebrewers in specific and all homebrewers in general about the legal implications of purchasing certain pieces of laboratory equipment.

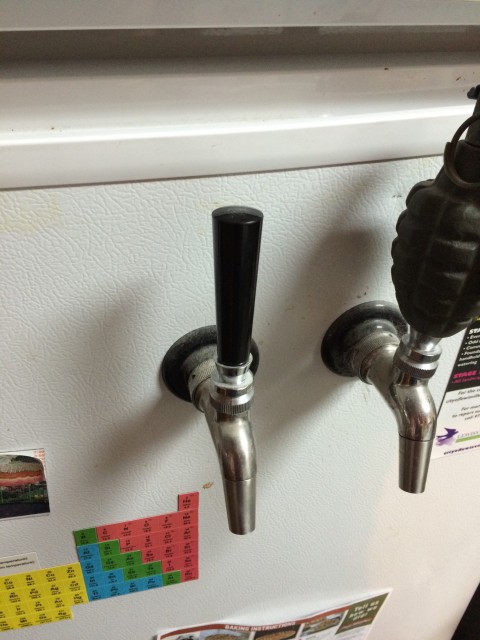
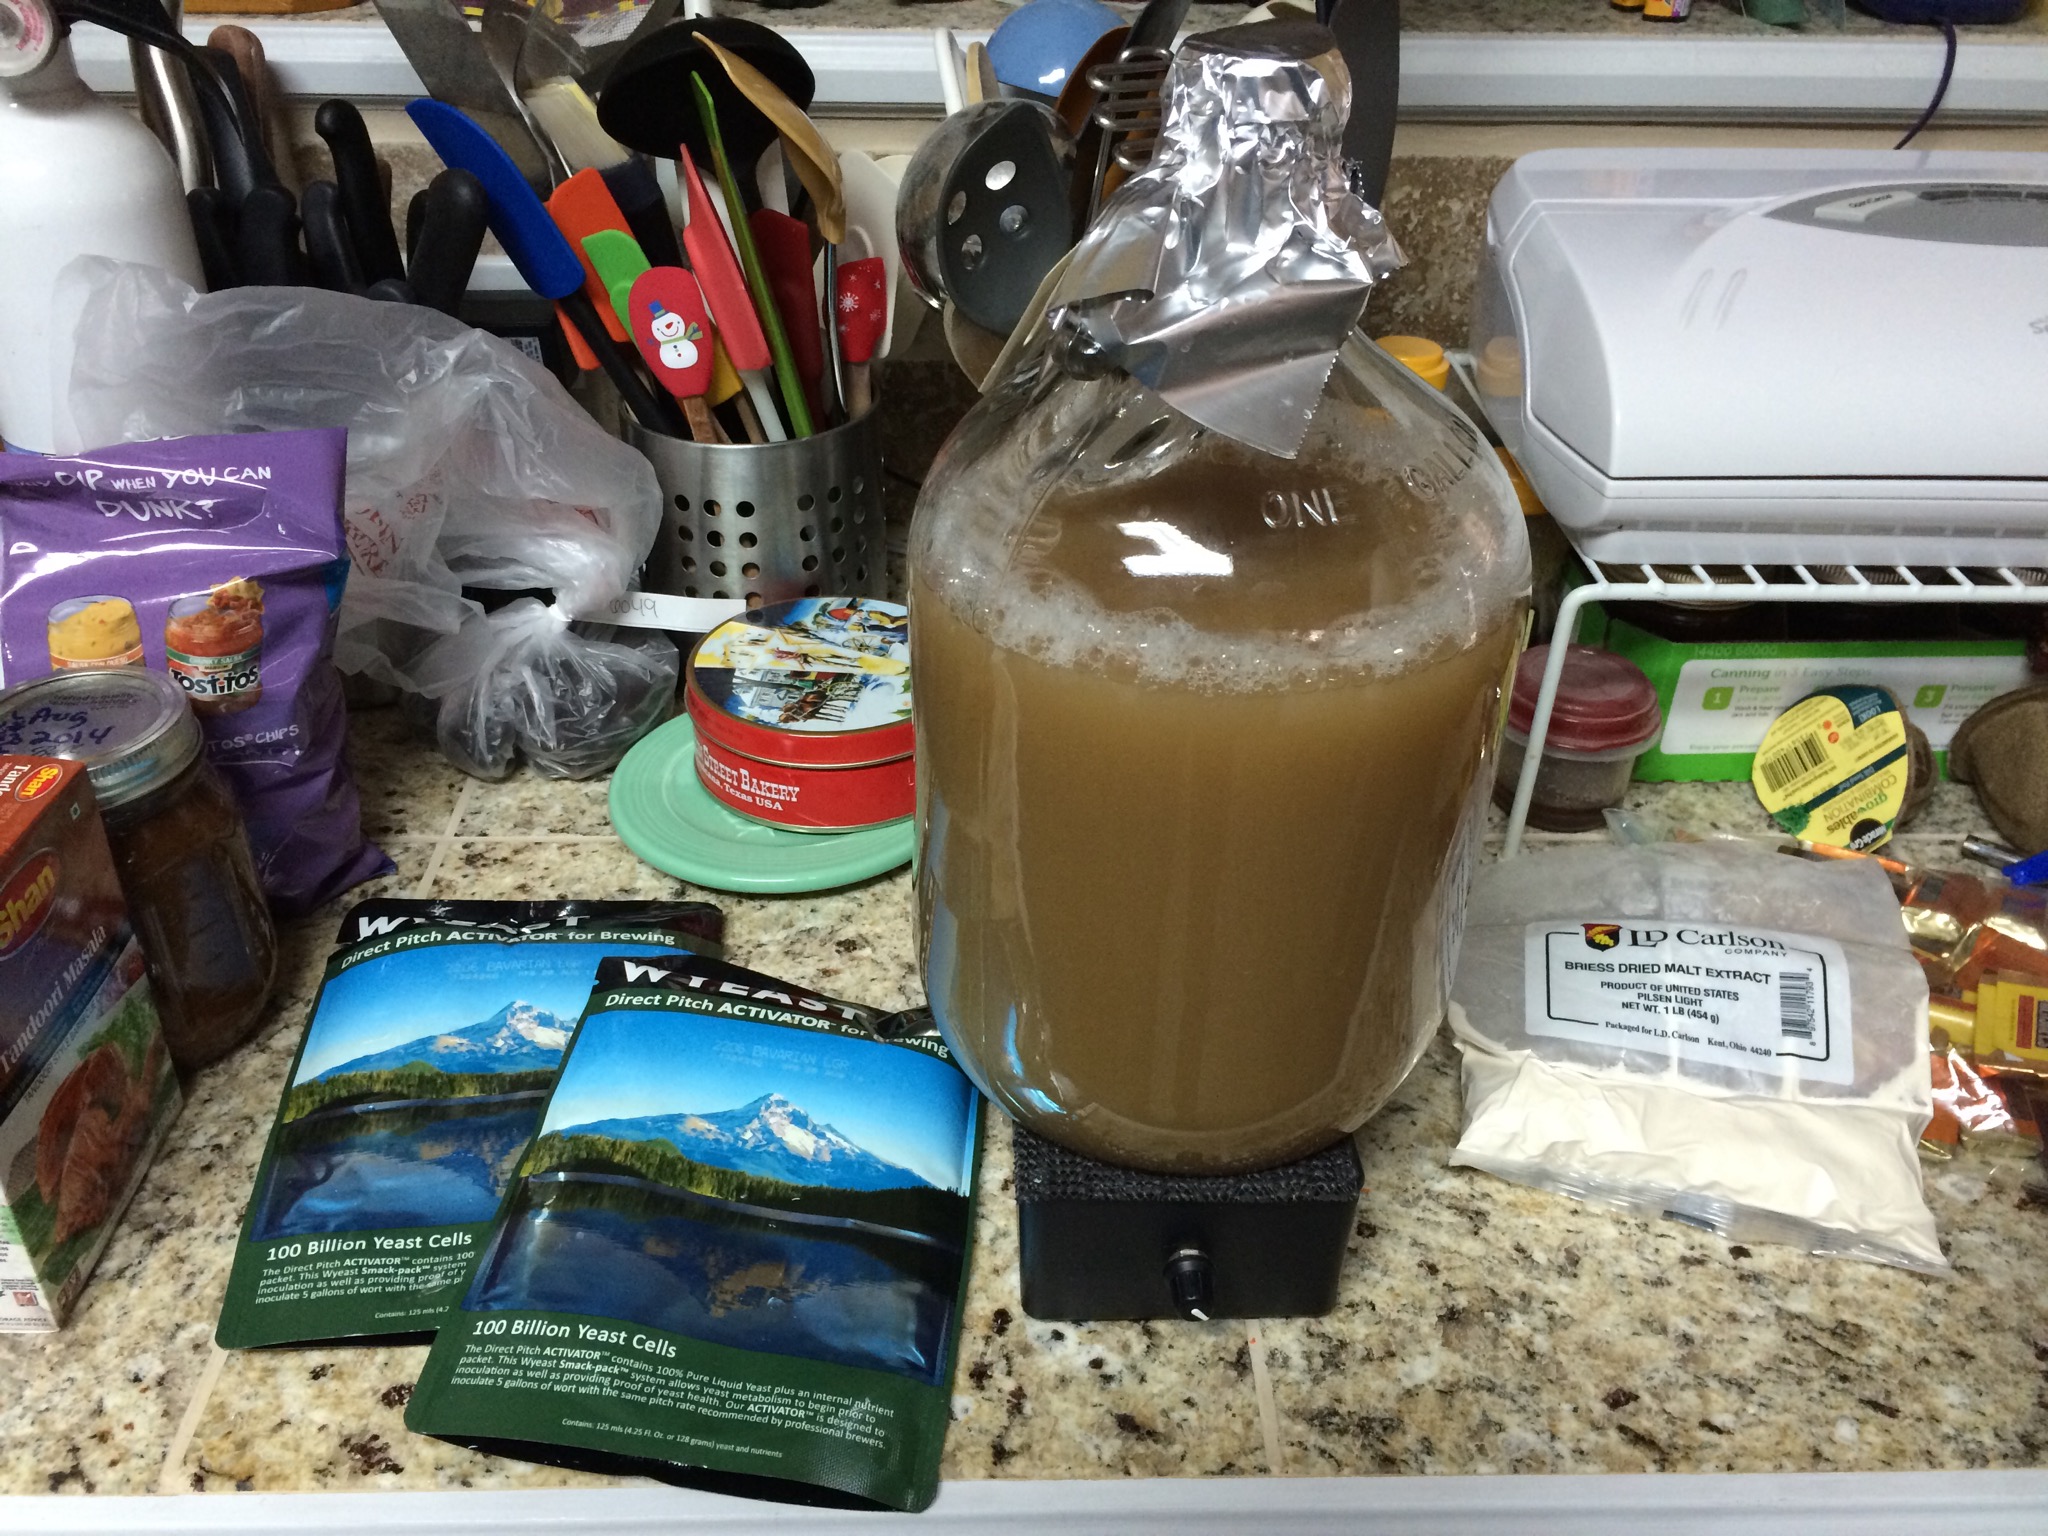
I got a promotional email from Northern Brewer this weekend, advertising a package deal where if you buy their Maelstrom digital, programmable stir plate, they’ll throw in a free 2000ml Erlenmeyer flask and stir bar. I’ve got an analog stir plate that I use to stir my starters, and it works really well, producing really good starters. If you don’t have one, you really should pick one up, because they make better starters.

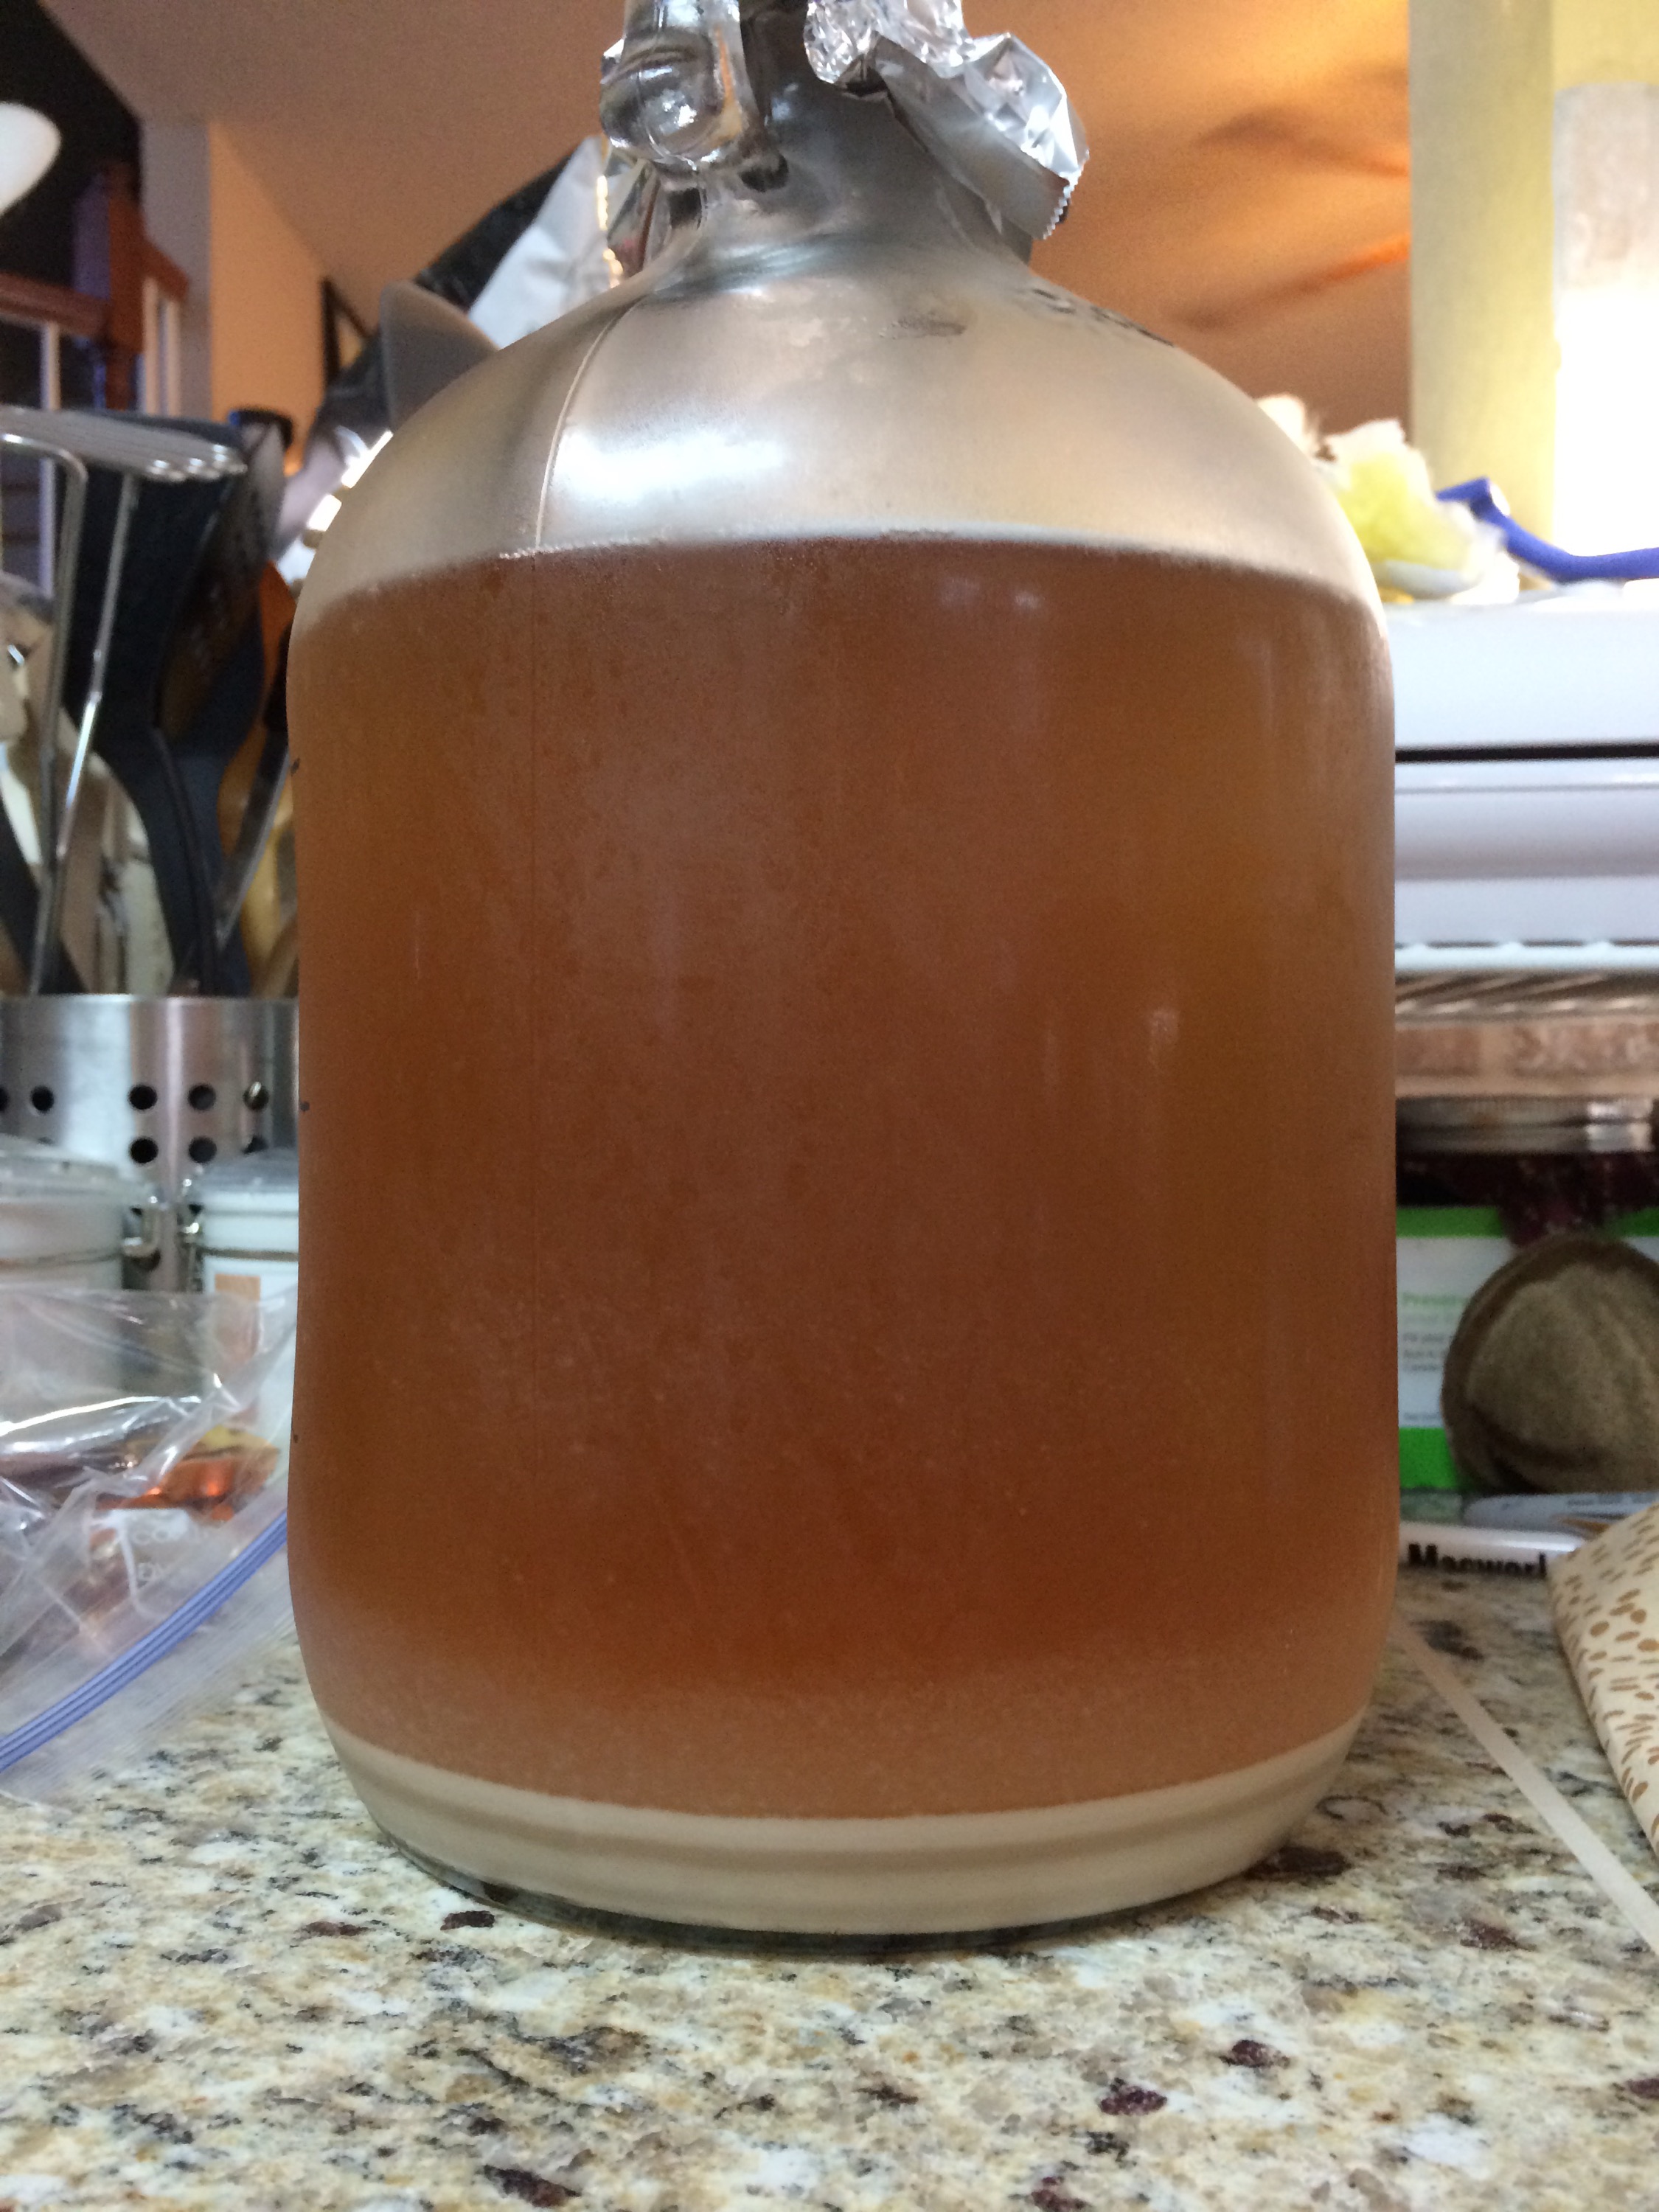
That being said, it’s not the stir plate that’s the problem here, it’s the Erlenmeyer flask. The State of Texas considers Erlenmeyer flasks to be drug paraphernalia (Texas Health and Safety Code Title 6, Subtitle C, Chapter 481, Subchapter A, Section 481.002 (53)(H)) and also, in Section 481.138(b) sets the penalty for possessing that flask to be a state jail felony.

It’s not all doom and gloom though. The Texas DPS has a process by which you can get a permit to legally purchase and possess that flask. The permit is free, and is good for the life of the item specified. You do not need to renew it once you’ve got it. The application process is simple, but know that you’re probably going to get a visit from a State Police Officer. He or she will talk to you about what you’re going to be using it for, and yes, making yeast starters for homebrewing is a legitimate use. They’ll also want to see where you’re going to be storing it when it’s not in use because leaving them out is not acceptable. A gun safe is a good option, but make sure you’ve got somewhere to secure it. My interview was fast, the officer was polite and professional, and knew quite a bit about homebrewing.

After you’ve completed the interview process, they’re more than likely going to approve the permit, unless you don’t have a secure storage location. They’ll head back to the office, dot their Is, cross their Ts, and you’ll get the purchase permit in the mail. Hang on to that, you never know when you’ll need it later. Give one copy to the seller and keep a copy for yourself.

I live in Texas, so obviously this is very specific to Texas laws. Check your state’s laws before you accidentally make a potentially life altering decision. And talk to your legislators about modifying the laws so as to not criminalize ordinary behavior…

Product Review: Switch Taps Tap Handles

I went out to Homebrew Headquarters to pick up some new tubing to replace the draft lines on my kegorator and came home with a pretty cool impulse buy: a new tap handle and faceplate from Switch Taps.

It’s an interesting update to the tap handle concept. Switch Taps’s handle replaces your old tap handle with one that has a slot that you insert different faceplates in to. Those faceplates tell everyone what kind of beer you’ve got on tap. They’ve got a number of different styles, and while my local homebrew shop didn’t have a large selection, they’ve got more on their website. I’m hoping they’re going to add to the list, but in the mean time, I picked up a lager faceplate since it was the closest to the doppelbock I’m going to be serving from that handle. Yes, I know it’s not really that close, and while they do have a bock handle on the website, I didn’t have that options at the LHBS.

Switch Taps product packaging

The handles have the standard 3/8-16 thread that all U.S. tap handles use, so you shouldn’t have any compatibility issues. The faceplates are short, so if you’ve got clearance issues, like I do, you won’t have to worry about things like the freezer door hitting your tap handle and spilling your beer on the floor. The faceplates slide in to a slot on the front of the handle and are held in place by magnets. That makes it easy to swap them out when you change what you’ve got on tap.

Starting with your plain, boring tap handle.

The plain, boring tap handle that is going to be replaced.

Take it off.

The faucet with the tap handle removed.

Screw on the Switch Taps handle and adjust it so that the slot is facing forward.

The empty tap handle.

And finally, slide the new faceplate in to the handle.

The faceplate installed on the handle.

These things rock, and I’ll be upgrading my other tap handle soon.

Lagering The Doppelbock

My son was in town for Christmas, so we got busy lagering the doppelbock. The first step was to wash and sanitize everything we’d need. This included a carboy, auto-siphon, airlock, and testing equipment.

Once the equipment was ready to go, we pulled the full carboy out of the freezer, set it on the lid, with the empty one on the floor right below it, and started the auto-siphon. It took a few minutes to drain, with a small interruption to put some of the beer in a testing cylinder.

Lagering the doppelbock - racking to secondary
Lagering the doppelbock – racking to secondary


After it was all transferred to the new carboy, I put that one back in the freezer, put the airlock on, and filled it with vodka to keep the bad bugs out. I then set the temperature controller to 34 degrees and we went inside to get the specific gravity reading done.

At this point the beer has quite a bit of CO2 dissolved in it, so you have to do something to get it out. Shaking it works, but be careful because you can make a real mess if you’re not careful about keeping the cylinder covered. Trust me, your significant other, landlord, pets, kids, parents, and friends will appreciate not getting beer all over the place.

For measuring specific gravity once you’ve got alcohol in the solution, you can use a refractometer and some math to get the final gravity, but it’s just easier to use hydrometer readings. I’ve got a set from Northern Brewer that includes one with a high resolution scale for finishing gravity. It’s so much easier to get accurate gravity readings with them than it us using the one-size-fits-none hydrometer that comes with most brewing kits. Go buy a set now, if you don’t have one already.

Lagering the doppelbock - gravity reading
Lagering the doppelbock – gravity reading


My finishing gravity came in within one point of where the software predicted that it’d be. And I got to taste the beer in the test cylinder. It was delicious! I’m going to call that a win. So now the beer’s lagering until at least the end of January when it will be kegged and put on tap.

Brewing The Doppelbock

Today was brew day, so I gathered my ingredients and equipment and started brewing the doppelbock.

The first step was to get 6.6 gallons of water in the kettle and get it heated up to 150 degrees. Once it reached that, I dropped the heat and added the grain bag with the specialty grains. They steeped for an hour, with the temperature holding at around 155.

IMG_0778.JPG

Once they finished steeping, I added the LME, DME, and honey and got them all dissolved before turning the heat back up to start the boil. It’s a standard 60 minute boil, with the hops added at the start of the boil, 15 minutes in, 45 minutes in, and at a minute before flameout. At 30 minutes in, I added the uncrushed roasted malts to steep for the rest of the boil.

IMG_0780.JPG

Once the boil was complete, it was time to chill it down to pitching temperature, which is done with a copper immersion chiller. I start off with a garden hose hooked up to it, running tap water through until it’s down to about 100 degrees or so, then switch over to an outdoor fountain pump recirculating ice water from a cooler. Because this one needed to be colder than my ales, it was 50 pounds of ice plus water. Within 20 minutes I had it knocked down to 68 degrees, which was the perfect temperature to transfer it to the carboy and pitch the yeast.

IMG_0779.JPG

After pitching, it was put in the chest freezer, the blowoff was connected, and I waited for activity. This yeast is apparently pretty active, because within about four hours, there was a light, steady bubbling in the water bucket. At that point, I dropped the temperature to 58 degrees and went to bed. I’ll bring it down to 53 in the morning, where it will ferment for the next few weeks.

IMG_0781.JPG

Making The Doppelbock Starter

I’ve got a brew day planned for next weekend, when I’ll be making my first lager, specifically a doppelbock. While you can get away without a starter if you’re making a standard gravity ale, lagers are a different matter. You really shouldn’t brew a lager without making one.

A quick visit to Mr. Malty’s pitching rate calculator confirmed that the doppelbock starter was going to need a little more than 3 liters of wort and would take two packs of yeast. I settled on 3.5 liters, which meant 350 grams of light DME, plus the water. It was boiled for about ten minutes, then chilled. Once it was chilled, I transferred it to the jug, got the stir bar centered, which was harder than it sounds thanks to the slightly curved base of the jug, and then turned the stir plate on. Once I had it adjusted so that it was stable, I added the yeast.

It’s spinning now, and once it’s complete, I’ll cold crash the yeast and be ready to brew next weekend.

Doppelbock starter
Doppelbock starter